Blog · Part of the Getting Started guide
OnlyFans Photo Tips: How to Take Better Photos on Your Phone
Practical photo tips for OnlyFans creators using a phone. Covers lighting, composition, posing, editing apps, and common mistakes to avoid.
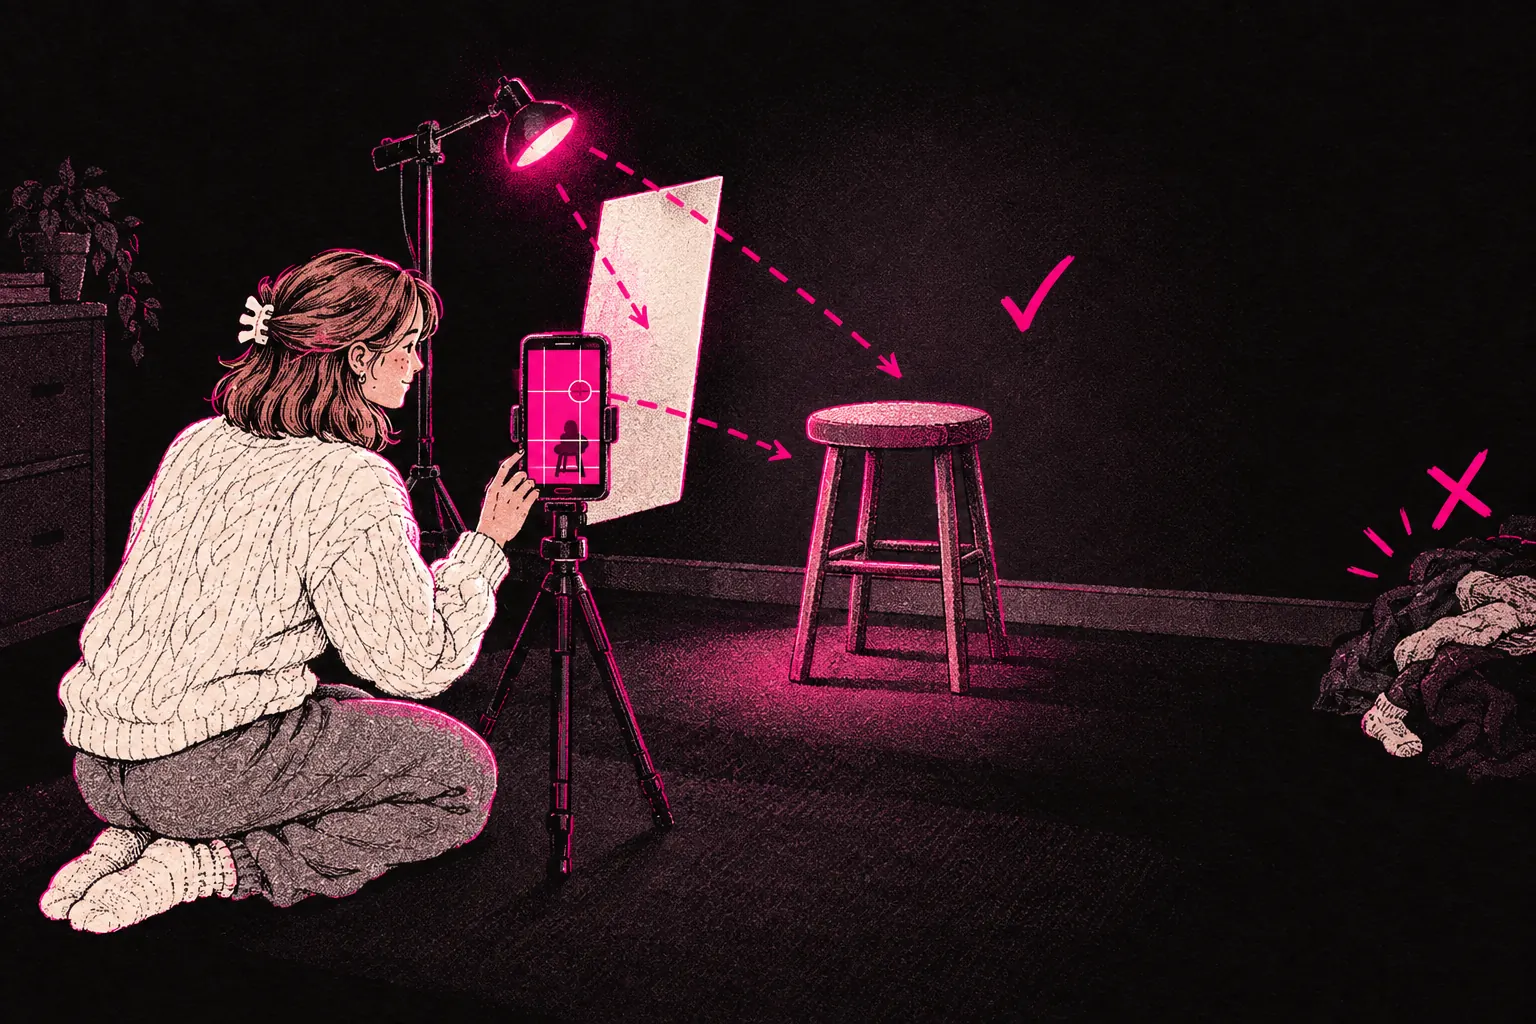
You don’t need a professional camera to take great OnlyFans content. Your phone can take photos that look polished and deliberate, as long as you get four basics right: lighting, composition, posing and editing.
Those four are what separate a so-so photo from one that makes a fan stop scrolling. You can start on all of them with the phone you already own.
Lighting makes or breaks everything
If you only improve one thing about your photos, make it the lighting. Good light can make a phone photo look professional. Bad light can make a photo from an expensive camera look terrible.
Natural light
The simplest light source, and often the best, is a window. Face the window so the light falls evenly on you. Don’t stand with the window behind you, because you’ll end up as a silhouette. And don’t stand right under ceiling lights, which throw harsh shadows across your face.
Indoors, mid-morning and mid-afternoon usually give you the best natural light, when it’s bright but not coming straight down from above.
Golden hour
If you’re shooting outdoors or by a window in the late afternoon, the soft, warm light just before sunset (golden hour) is very flattering. It warms up your skin tone, softens shadows and makes almost everything look better.
Ring lights and softboxes
A ring light is one of the best things a creator can spend money on. They start at around fifteen to twenty pounds and give you even light with barely any shadow, for photos and video alike. Put it straight in front of you at eye level.
For softer light that looks more natural, a small softbox or LED panel gives you more control. They cost a bit more, but they’re worth it if you shoot often.
Avoid harsh overhead lighting
Bathroom ceiling lights, fluorescent strips and hanging pendant lights all throw unflattering shadows under your eyes and nose. If you have to shoot under overhead light, soften it with a diffuser or add a light in front of you.
Composition basics
Composition is how you arrange everything in the frame. You don’t need to study photography, but a few simple principles will make your shots better straight away.
Rule of thirds
Picture your frame split into a 3x3 grid (most phone cameras can show one, if you switch it on in settings). Put yourself, or whatever the photo’s about, along one of the lines or where two lines cross, and keep out of the dead centre. The photo feels livelier that way.
Angles matter
Shooting from a little above eye level is usually more flattering than shooting from below. Try different angles during your batch sessions. Moving the camera a few centimetres up or down, or tilting it slightly, can change how a photo feels completely.
Leave some space
Don’t fill the frame edge to edge. A bit of room around the edges makes the photo look cleaner and more composed. It also makes cropping easier later.
Leading lines
Use lines that are already in the room, like doorframes, the edge of a piece of furniture or patterns in the floor, to lead the viewer’s eye towards you. It’s subtle, but it works.
Phone camera settings
Your phone camera gives you more control than you might think. These are the settings worth knowing.
Portrait mode
Portrait mode blurs the background and keeps you sharp. It makes photos look more professional instantly. Recent phones mostly do it well, but check around the edges of your body for patches of odd blur.
Exposure lock
Tap and hold on the screen where you want the camera to focus. That locks the focus and the exposure, so they don’t shift when you move. On iPhone, slide your finger up or down after locking to adjust the brightness yourself.
HDR
HDR (High Dynamic Range) balances bright and dark areas in the same photo. It helps when you’re shooting near a window and the light inside and outside is very different. On most phones it’s switched on by default or runs in auto mode.
Timer and burst mode
If you’re shooting alone on a tripod, use the timer (three or ten seconds) so you’ve got time to get into position. Burst mode takes lots of frames in quick succession, so you’ve got more to choose from.
Clean your lens
It sounds too obvious to mention, but a smudged lens is a common reason photos come out soft or hazy. Wipe it with a microfibre cloth before every session.
Posing tips
Posing is a skill, and like any skill it gets better with practice. These are good places to start.
Angles over straight-on
Turning a little to one side is nearly always more flattering than facing the camera square on. A three-quarter turn gives your body depth and shape.
Hands need a job
Awkward hands are an easy way to spoil a pose. Give them something to do: touch your hair, rest one on your hip, hold a prop, or lightly hold a piece of clothing. When your hands look relaxed and purposeful, the whole pose looks natural.
Expression matters
A photo with a real expression, whether that’s a smile, a focused look or something playful, will nearly always beat a blank stare. Practise in a mirror until you find the expressions that feel natural on you.
Move between shots
Don’t hold one pose for twenty photos. Shift your weight, look somewhere else, move your hands. Small movements give you variety, and you’ll often find an angle you didn’t expect to like.
Backgrounds and set dressing
Your background is part of the content. A cluttered, messy background pulls attention away from you and can look unprofessional.
- Tidy what’s in shot. You don’t need to clean the whole room. Just make sure everything the camera can see looks like it’s meant to be there.
- Keep backgrounds plain or simple. A clean wall, a neatly made bed or a simple setup keeps the focus on you.
- Add a few props on purpose. Flowers, candles, books or nicely arranged furniture can add personality without clutter.
- Look for distractions. Before you shoot, check the frame for things that shouldn’t be there: chargers, stray clothes, dirty dishes.
- Watch for reflections. Mirrors and glass can show parts of the room you didn’t mean to.
Editing apps
Editing is where a good photo becomes a great one. You don’t need expensive software. These free or cheap apps cover everything you’re likely to need.
Lightroom Mobile (free)
The industry standard for photo editing. You get precise control over exposure, contrast, colour temperature and sharpness. Presets let you build a look once and apply it across dozens of photos in minutes, which makes it ideal for batch editing after a shoot day.
VSCO (free with premium option)
Known for its film-style filters and clean editing tools. It’s great for giving your whole feed a look that hangs together.
Snapseed (free)
Google’s editing app. It has strong tools, including selective adjustments, healing (for removing blemishes or distractions) and perspective correction. The layout is simple, but it can do a surprising amount.
Facetune (paid)
Popular for detailed retouching, smoothing and reshaping. Use it sparingly. Over-edited photos are easy to spot, and your fans subscribed to see you.
Common mistakes to avoid
- Dirty mirrors. If you’re taking mirror selfies, clean the mirror first. Smudges and spots show up straight away.
- Cluttered backgrounds. A pile of washing in the corner can ruin an otherwise great photo. Take ten seconds to clear the frame.
- Over-editing. Heavy filters, extreme smoothing and unrealistic colours work against you. People subscribe to see you, so keep the photos looking like you.
- Only shooting from one angle. If every photo is taken from the same spot at the same angle, your feed will start to feel repetitive. Mix it up.
- Ignoring the preview. Check how a photo looks at the size your fans will see it. A shot that looks great zoomed in can lose its impact as a thumbnail.
If you shoot video too, most of this still applies. Our video content guide covers equipment and editing for video specifically.
Better photos, better page
Small improvements to your photos add up quickly, and you don’t have to master everything at once. Pick one area, say lighting, and work on just that for a week. Then move on to the next.
If you’d like help with content strategy as well as the technical side, see how TalentGrow works. The team works in your account through Infloww, a creator CRM, where it can see stats, make posts and send messages. It has no access to your bank details, payout information, email or social media accounts. The account stays in your name, payouts go to your bank, and you keep full control and can end our access at any time by changing your password. It’s month to month with no lock-in and no exit fees, on 14 days’ notice.
When you’re ready, get in touch.