Blog · Part of the Getting Started guide
OnlyFans Tip Menu: How to Price and Structure It
How to build an OnlyFans tip menu fans use: structure your tiers, set prices, lay it out clearly, promote it and avoid mistakes that cost you tips.
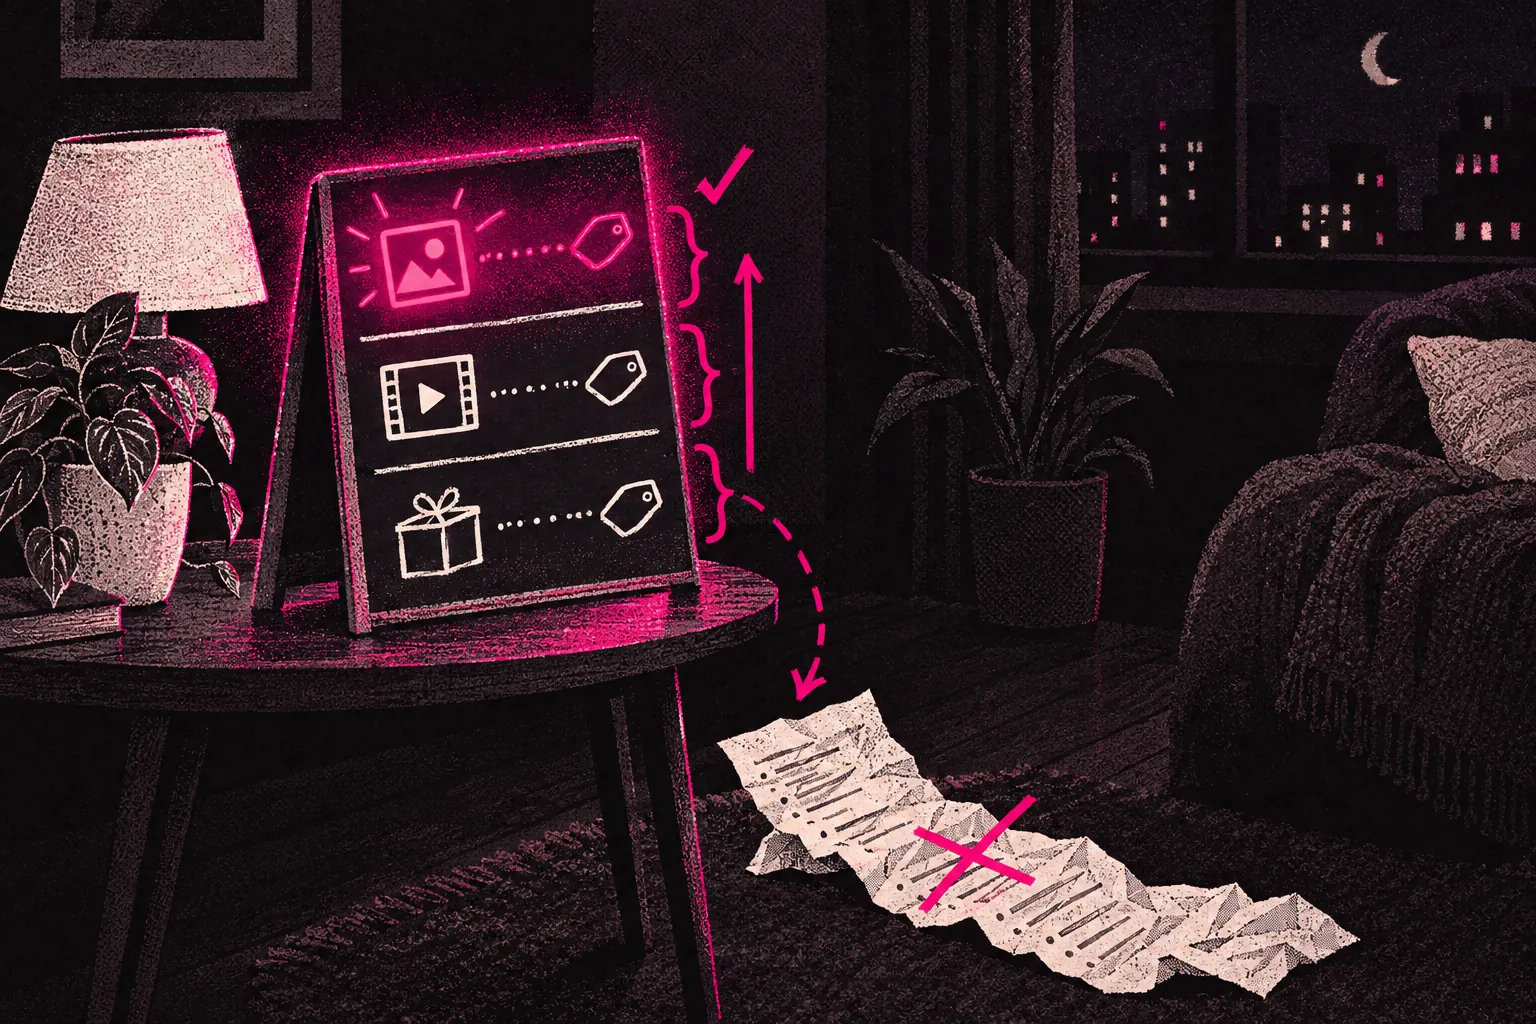
A tip menu is a pinned list of what fans can tip you for and how much each thing costs. It’s one of the simplest things you can add to your page. Fans don’t have to guess, haggle or talk themselves out of asking, and that makes it much easier for them to spend.
If you haven’t made one yet, or yours isn’t earning much, this page walks you through building one that works: the tiers, the prices, how it looks and how to get fans to use it.
What a tip menu is (and why it works)
A tip menu lists content or actions you offer, each with a set tip. It’s like a menu in a restaurant. Fans don’t have to put together a custom request from scratch. They pick something off the list.
It works for a few reasons.
- Fans can see straight away what’s available and what it costs, with none of the awkward back and forth.
- A range of prices makes it easy to find something that fits their budget. Someone who’d never write a custom request may be happy to pick an item off a list.
- Listing prices up front means fewer lowball offers and less time spent haggling.
- When someone asks “what do you offer?” for the twentieth time that day, you just send the menu.
How to structure your tiers
Offer a spread of prices so there’s something for the fan who tips now and then and something for your biggest spender. Three or four tiers is usually enough.
Low tier: small, easy wins
Quick, low-effort items that almost anyone can afford. They get fans used to tipping.
- Rating a fan’s photo
- A personalised greeting or shoutout
- Reacting to something they send you
- Their name on a pinned “thank you” post
Keep these cheap. You want lots of fans doing them, so don’t worry about making much on each one.
Mid tier: your bread and butter
Aim for most of your tip menu income to come from here. These take more effort but are still easy to keep up with.
- Solo photo sets (a set number of photos on one theme)
- Short custom video clips
- Specific outfit or lingerie requests
- Voice notes or audio messages
Price these on the time and effort they take. Be realistic about what your time is worth.
High tier: premium and personal
Items that take real time and effort, priced to match. Not every fan will buy them, and that’s fine. The ones who do are usually your biggest supporters.
- Longer custom videos
- Video calls or live sessions
- “Girlfriend experience” style content
- Detailed custom requests made to their brief
Top tier: exclusive and limited
Some creators add a small top tier for rare or one-off things, like worn items, longer experiences or anything you only want to offer now and then. Keep it short. If you post physical items, never send them from your home address.
Pricing tips that actually help
Pricing is where menus most often go wrong, either too cheap to be worth your time or too expensive to sell.
Start with your time
Decide what an hour of your time is worth to you, then price each item by how long it takes to make. A ten-minute custom video shouldn’t cost the same as a quick selfie.
Watch what fans ask for
If fans keep requesting the same kind of content, take note. Give it a fair price and put it where fans will see it first.
Don’t race to the bottom
Very low prices don’t automatically mean more sales, and they can make your content look cheap. It’s also easier to lower a price later than to raise one fans are used to.
Use round numbers
Tips of 10, 25, 50 and 100 are easier to read at a glance than 17 or 43, and they look deliberate. If you’re curious, try both and see which sells.
Leave room to grow
If you’re new, you can start a little below where you think you should be and raise prices as demand grows. Early fans get a good deal, and by the time you put prices up you’ve got sales to point to.
Not sure where to start? Our tip menu builder helps you put a menu together with suggested price ranges for each type of content, so you’re not staring at a blank page.
Presentation matters more than you think
A menu that looks thrown together is easy to skip past. A clean one is easier to read and order from.
Pin it. Your tip menu should be one of the first things a new subscriber sees, so pin it to the top of your page.
Make it easy to scan. A plain text list does the job, but an image with clear formatting is easier to read. Use bold text and plenty of space, and group items by category or price.
Add a short description to each item, so fans know exactly what they’re getting. “Custom solo video (5 mins, your scenario)” tells them far more than “Custom video”.
Keep it up to date. When you add something or stop offering it, change the menu. Old items you no longer do just cause confusion.
Mention it in your welcome message. When someone subscribes, your automated welcome message should point them to the menu. New subscribers are paying attention to your page, so that’s a good moment to show them what they can order.
Common mistakes to avoid
These mistakes can stop a tip menu earning without you noticing.
- Too many items. Nobody reads a menu with 30 options. Something like 8 to 15 items is easier to take in.
- No cheap options. If everything starts at 50, you lose the fans who’d happily tip 10 for something small. Small tips add up, and some of those fans go on to buy bigger things.
- Vague descriptions. “Something special” doesn’t tell anyone what they’re paying for. Say exactly what each item includes.
- Everything at the same price. If a selfie and a custom video cost the same, your pricing looks random, and fans notice.
- Never mentioning it. Pinning it is the first step. Mention it in posts, messages and stories too, because a menu only earns if people see it.
- Not tracking what sells. Keep an eye on which items get ordered and which never do. Drop the ones nobody wants and do more of what fans buy. Our earnings calculator shows you which income streams are earning their place.
How to promote your tip menu
Don’t wait for fans to find your menu. Point them to it.
Mention it in posts. When you post a photo or teaser, tell fans they can get more through your menu. “Want something like this made just for you? Check my tip menu” is enough.
Use it in conversations. When a fan asks what you offer or hints at wanting something custom, send the menu. It moves the chat towards a sale without you having to push.
Talk up what’s selling. If one item’s been popular, say so. “My custom clips have been popular this week” makes other fans curious.
Add things for a limited time. Seasonal or themed items, like a holiday set, give fans a reason to check the menu again and to order before an item’s gone.
Mention your premium items now and then. Fans who can’t afford them today may remember them later.
Where to start with your tip menu
Get the structure right, price by your time, make it easy to read and keep reminding fans it’s there. It’s one of the easiest ways to earn more from the fans you already have.
For a head start, our tip menu builder walks you through setting one up and gives you a formatted menu you can use straight away. And if you’re thinking about working with an agency to handle the sales and strategy side, you can see how that works or apply directly.