Blog · Part of the Getting Started guide
Best Photo Editing Apps for OnlyFans Creators
A guide to the best free and paid photo editing apps for OnlyFans creators, from quick mobile edits to professional desktop workflows.
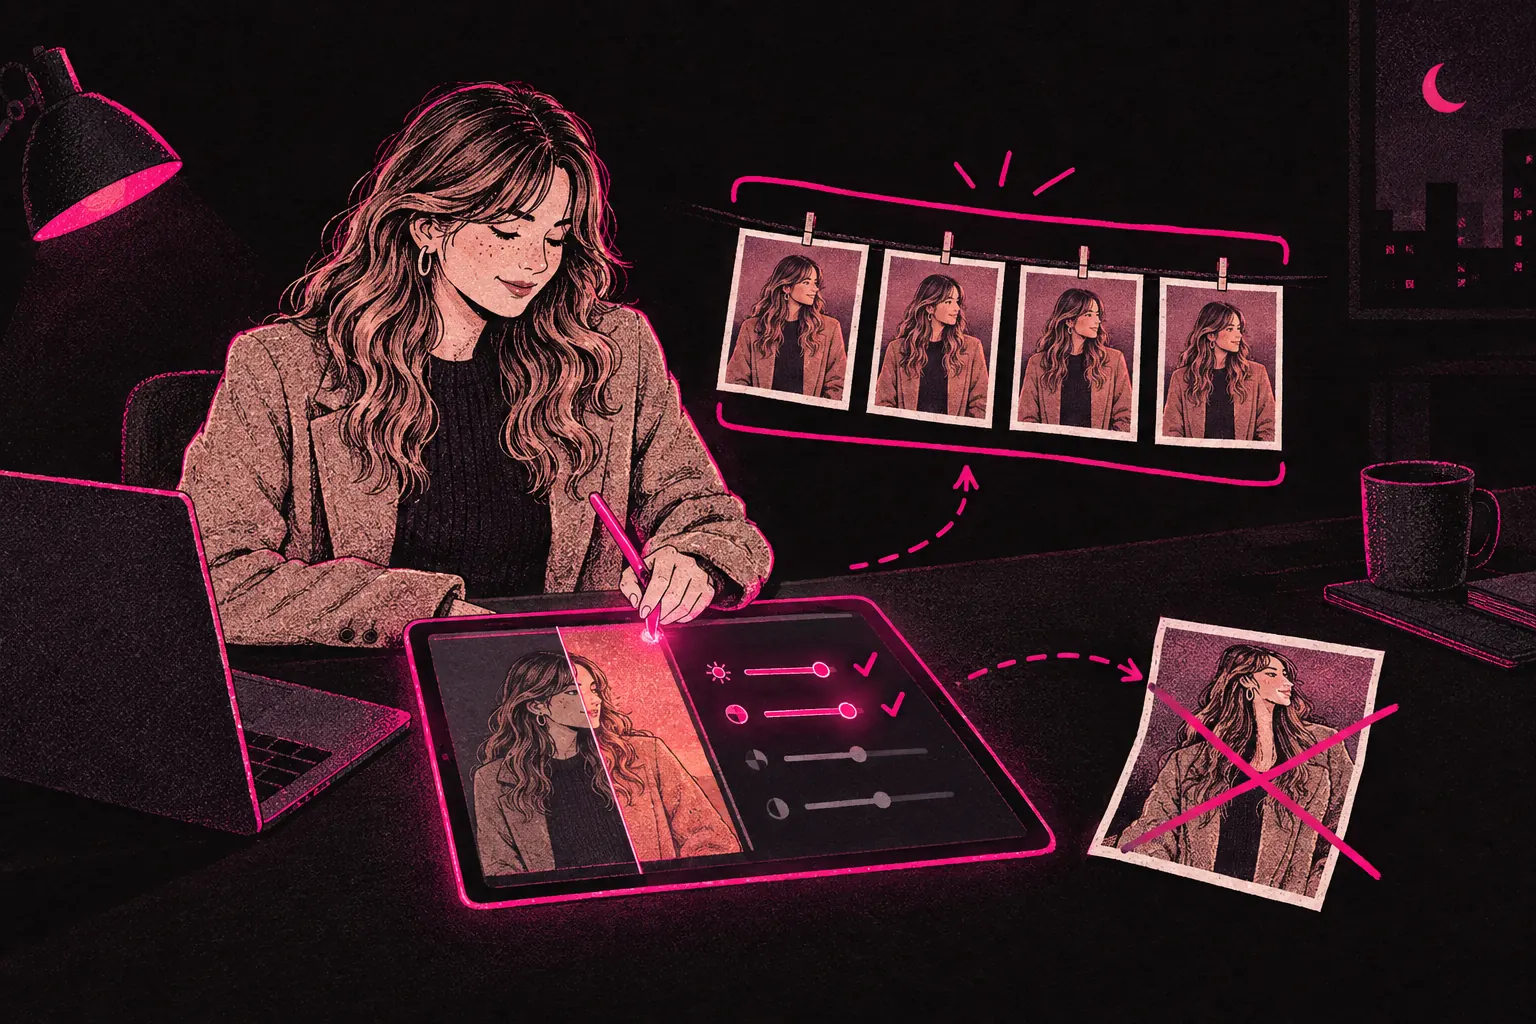
For most OnlyFans creators, Lightroom Mobile is the best photo editing app to build a look around, and Snapseed is the best free app for quick fixes. If you edit on a computer, Lightroom Classic is the standard, with Photoshop, Affinity or Darktable for heavier jobs or a smaller budget.
Taking good photos is only half the job. Editing is where you fix mistakes and give your photos a style subscribers recognise as yours. A good editing routine also saves you hours every week, which adds up fast when you’re posting all the time. The apps below run from free phone editors to professional desktop software, with what each one’s good at and when it makes sense.
The goal of editing: enhance, do not fabricate
Before you pick an app, get clear on what good editing looks like. The aim is to make what’s already in the photo look its best. Inventing something that was never there is where it goes wrong.
Good editing means:
- Correcting exposure and white balance so the image looks the way it did in the room
- Evening out skin tone while keeping some texture
- Adjusting contrast and colour to match your style
- Cropping for a better composition
- Removing temporary blemishes, if you want to
Heavy editing is often easy to spot, and a fan who notices may start wondering what else isn’t real. A natural but polished look tends to hold up better than an obviously filtered one.
Free mobile apps
Snapseed (iOS and Android, free)
Snapseed is made by Google, and it’s one of the strongest free photo editors you can get. It costs nothing, with no in-app purchases and no watermarks.
Use it for precise adjustments, editing one area of a photo and quick fixes on the go.
What it does well:
- Selective adjust lets you change brightness, contrast or saturation in one area of the photo
- The Healing tool removes blemishes cleanly
- Tune Image gives you fine control over exposure, contrast, highlights, shadows and warmth
- Portrait mode adds subtle face touch-ups without looking fake
- You can save a set of edits as a preset and apply it to other photos, so a whole set matches
Where it falls short: there’s no batch editing and no layers, and the screen can feel cramped on a small phone.
Google Photos built-in editor (iOS and Android, free)
If you only need quick, basic changes, the Google Photos editor handles exposure, contrast, warmth and cropping well. Its AI suggestions are surprisingly decent when you want a one-tap fix.
It’s the one to reach for when you’re in a hurry and don’t need precision.
Apple Photos (iOS, free)
Like Google Photos, the editor built into Apple Photos covers the basics well. The auto-enhance button is hit and miss. The manual sliders for light, colour and detail are solid.
Paid mobile apps
Treat the prices below as a guide. App makers change their prices, and what’s in the free version, fairly often, so check before you subscribe.
Lightroom Mobile (iOS and Android, free with limitations / £10 per month for full)
Adobe Lightroom Mobile is one of the best-known editing apps among content creators. The free version does more than you’d expect. The paid version, which comes with a Creative Cloud Photography plan, adds cloud syncing, selective adjustments and the healing brush.
Pick it if you want the same look across all your content, if you edit in batches, or if you move between your phone and a computer.
The features that matter:
- Presets, including ones you make yourself, apply your look in one tap
- Selective adjustments let you edit one part of a photo
- Cloud sync means edits on your phone show up on your computer almost straight away
- Batch editing applies the same changes to dozens of photos at once
- RAW file support gives you the most room to edit
Why it stands out: presets. Once you’ve built a look you like, you can apply it to every photo in seconds and then fine-tune individual shots. That saves a huge amount of time, and your page ends up looking like one person’s work.
VSCO (iOS and Android, free with limitations / £30 per year for full)
VSCO made its name with film-style presets that look natural and not over-processed. If you want an editorial feel across your content without spending hours tweaking settings on every photo, VSCO is excellent.
It’s best for getting a polished look quickly, and keeping it.
What you get:
- Presets designed to look like different film stocks
- A simple layout built for speed
- Video editing in the paid tier
- A community and inspiration feed, if you find that useful
Where it falls short: you get less precise control than Lightroom, and batch editing is limited.
Facetune (iOS and Android, subscription)
Facetune is built for portrait retouching. It handles skin smoothing, reshaping, teeth whitening and similar edits, so it’s best for retouching portraits and quick selfie touch-ups.
A word of caution: it’s very easy to overdo Facetune. Heavy smoothing wipes out skin texture and makes a photo look obviously fake. Use it lightly, if at all. Fans are paying to see you, so keep the photo looking like you.
Desktop options
Adobe Lightroom Classic (£10 per month with Photography plan)
Lightroom Classic, the desktop version, is the industry standard for organising and editing photos. If you produce a lot of content and want to stay organised, it’s hard to beat. It suits high-volume editing, precise colour grading and keeping a big photo catalogue in order.
Key features:
- A catalogue that keeps every photo organised and searchable
- Batch editing across hundreds of images
- Advanced colour grading with curves, HSL and split toning
- Tethered shooting, where your camera connects straight to the computer
- Export presets, so every file comes out with the same settings
Adobe Photoshop (£10 per month, included with Photography plan)
Photoshop is more than you need for basic edits. It earns its place when you need to combine images, remove a tricky background or do detailed retouching.
When you’ll need it: probably not often. It’s worth having for specific jobs, like removing a visible logo or fixing a messy background, but Lightroom covers nearly all of your everyday editing.
Affinity Photo 2 (now part of the free Affinity app)
Affinity Photo 2 used to be the go-to if you wanted Photoshop-level tools without a monthly subscription. It was a one-time purchase of roughly £50, with no recurring fees. Canva, which owns Affinity, has since replaced it with a single Affinity app that’s free to download with a Canva account. The photo editing tools are in it, and only Canva’s AI features need a paid plan. If you already bought Affinity Photo 2, your copy still works.
It’s the best option if you need advanced editing and don’t want a subscription.
Darktable (free, open source)
Darktable is a free alternative to Lightroom. It handles RAW processing, colour correction and batch editing. It takes more getting used to than Lightroom, but it’s very capable and costs nothing.
Pick it if you want professional results without paying anything.
Building an efficient workflow
The right app is only part of it. How you use it decides whether an editing session takes ten minutes or two hours.
Develop presets or filters
Spend some time, once, building two or three looks that suit your content. Save them as presets. Then for each batch of photos, apply the preset first and only fine-tune the shots that need it.
Edit in batches
Don’t edit photos one at a time as you take them. Shoot a full session, pick the ones you want to keep, then edit them all together. It’s quicker, and the set comes out looking like it belongs together.
A suggested workflow
- Import all the photos from your session
- Delete the obvious failures (blurry, badly framed, unflattering)
- Pick your best shots
- Apply your preset to all of them
- Fine-tune exposure and white balance shot by shot
- Do any retouching you need
- Export at the right size and quality for OnlyFans
Export settings for OnlyFans
OnlyFans accepts JPEG and PNG files. For a good balance between quality and file size:
- JPEG at 85 to 90% quality
- Resolution: the full resolution of your camera or phone is fine
- Colour space: sRGB (the default in most apps)
Creating a consistent aesthetic
A recognisable editing style means people can tell a photo’s yours straight away, whether they see it on OnlyFans, on social media or in a promo post.
Pick a colour palette
Decide whether your content leans warm or cool, saturated or muted, punchy or soft. Then stick with it. Every photo doesn’t need to look identical, but there should be a thread running through them.
Match your lighting to your editing
If you always shoot in warm light, editing towards cool tones will look off. Edit in a way that works with how you shoot.
Audit your grid regularly
Every so often, step back and look at your recent posts together. Do they look like they belong on the same page? If one photo sticks out as very different, check whether you edited it the same way as the rest.
What not to over-edit
Skin texture
Taking out all the skin texture makes a photo look uncanny. A bit of smoothing is fine if you like it, but visible texture looks more professional and easier to trust.
Body proportions
Warping and reshaping tools are easy to spot if you know what to look for, and they often bend the background too (warped door frames, lines that should be straight). A fan who spots it may start to doubt the rest of your page.
Colour accuracy
Heavy colour grading that turns skin orange or grey pulls attention onto the editing and away from you. Keep skin tones believable.
Our recommendation
If you’re not sure where to start, use this setup:
- Lightroom Mobile as your main editor (start on the free version, and pay once you want the premium tools like selective adjustments and the healing brush)
- Snapseed as a backup for quick one-off edits
- Two or three presets that define your look
- A batch edit after every shoot
That gets you polished photos that match, quickly, without spending much or learning complicated software.
For more tools for the business side of content creation, have a look at our free creator tools. And if you want a full list of recommended equipment and software, the creator kit guide has it all in one place.