Blog · Part of the Getting Started guide
OnlyFans Verification: What You Need and How to Get Approved
The ID, selfie, bank and tax details you need for OnlyFans verification, each step in order, and the small mistakes that get applications rejected.
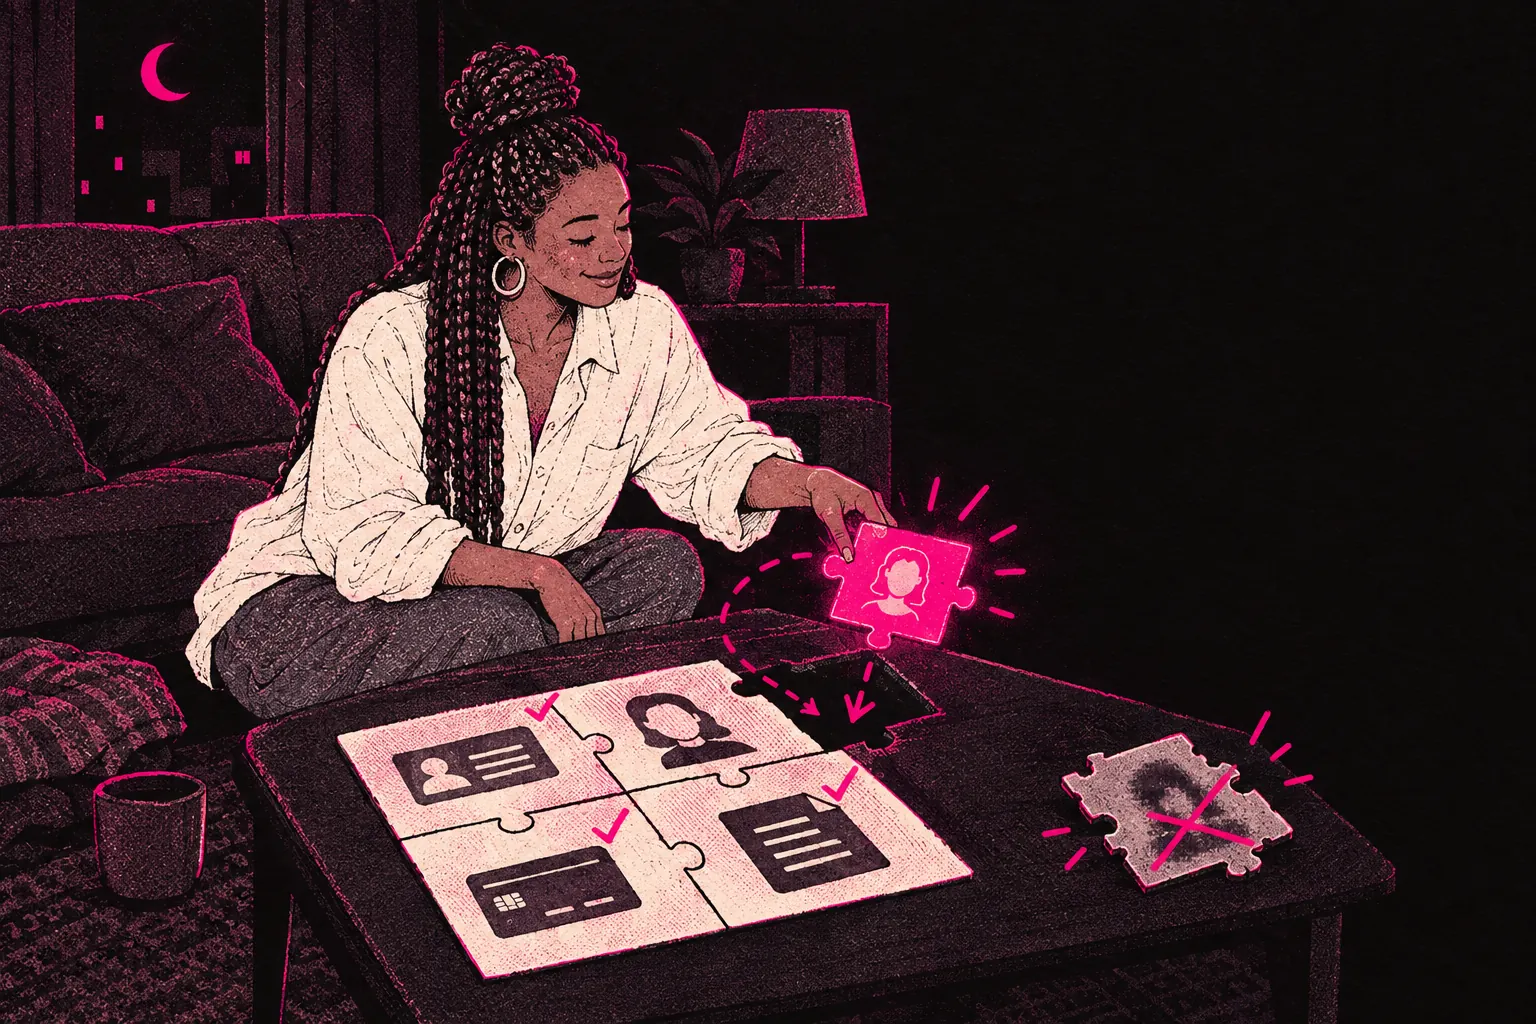
To get verified on OnlyFans, you’ll need an in-date photo ID, a clear selfie or face scan, personal details that match your ID exactly, a bank account in your name and your tax details. Get those right and verification is usually simple. Small mistakes, like a blurry photo or a name that doesn’t match, are what cause delays and rejections.
The steps below follow the usual order. OnlyFans changes the screens from time to time, so if something looks different, follow the on-screen instructions.
Why OnlyFans requires verification
OnlyFans checks every creator for two reasons. Adult platforms have to confirm that the people posting content are real and over 18, under the law and under payment providers’ rules. It also protects the platform and its users from fraud, impersonation and anyone underage getting on.
There’s no way to skip it. Whatever kind of content you plan to post, you’ll need to pass identity verification before you can set a subscription price or get paid.
What you need before you start
Have these ready before you begin. It makes the whole thing much quicker.
A government-issued photo ID
A passport, driving licence or national identity card. It must be in date, and it needs to show your full legal name, date of birth and photo. Temporary or paper documents usually aren’t accepted.
A selfie for facial verification
You’ll be asked to take a photo of yourself, often holding your ID, so your face can be matched to your document. There’s more on getting this right below.
Your personal details
You’ll enter your legal name, date of birth and address. These must match your ID exactly. You can’t use a nickname or stage name in the legal name field.
A bank account or payout method
OnlyFans needs somewhere to pay you, usually a bank account in your name. The name on the account must match the name on your ID.
Tax information
What you’re asked for depends on your country. UK digital platforms report sellers’ income to HMRC for periods from 1 January 2024, so UK creators should expect to give tax details such as a National Insurance number. US creators fill in a W-9 form. The tax calculator shows you what you might owe.
The verification process step by step
Step 1: Create your account
Sign up on OnlyFans with an email address, or with your Twitter or Google account. Use an email you check regularly, because OnlyFans sends important notices there.
Step 2: Switch to a creator account
Once your account’s set up, go to your settings and choose the option to become a creator. That starts the verification process.
Step 3: Enter your personal information
Fill in your legal name, date of birth and country. Check your legal name matches your ID exactly. If your ID says “Katherine” and you type “Kate”, verification may fail.
Step 4: Upload your ID
You’ll be asked to upload a clear photo or scan of your ID. For the best chance of approval:
- Use good light. Daylight works best. Avoid glare from a flash or overhead lights.
- Get the whole document in. All four corners should be visible, with nothing cropped out.
- Keep it flat and straight. Put the ID on a flat surface and photograph it from directly above, because an angle can distort it enough to get it rejected.
- Make sure the text is readable. A blurry photo will be rejected, so take the time to get a sharp one.
Step 5: Complete the selfie verification
You’ll usually be asked for a photo of yourself holding your ID next to your face. People often find this the fiddliest step, but these tips make it easier:
- Hold the ID beside your face, not in front of it, so your face and the ID photo are both clear.
- Use similar light to your ID photo if you can. It makes matching easier.
- Don’t wear sunglasses or a hat, or makeup that makes you look very different from your ID photo.
- Look straight at the camera.
Some creators are asked to do an automated video check instead, turning their head or blinking when prompted. Follow the instructions carefully and do it somewhere well lit.
Step 6: Add your payment information
Enter your bank details or other payout method. The name on the account must match the name you used for verification. If you’ve changed your name recently, make sure all your documents agree.
Step 7: Submit your tax information
Fill in the tax form for your country. UK creators are usually asked for details such as their National Insurance number and address. US creators complete a W-9. Other countries have different requirements, and OnlyFans will show you what it needs.
If you’re unsure about tax as a UK creator, our guides on self-assessment for OnlyFans and registering as self-employed cover what you need to know.
Step 8: Wait for approval
Once you’ve submitted everything, OnlyFans reviews your application. It’s often done within 24 to 72 hours, but it can be quicker, or slower when they’re busy.
You’ll get an email when you’re approved. If there’s a problem, the email will tell you what to fix.
Common reasons for rejection
Knowing why applications get rejected helps you avoid a delay.
- Blurry or covered ID photos. A common reason. If the text on your ID can’t be read, the application will be rejected, so get a clean, sharp image.
- Details that don’t match. If the name you entered doesn’t exactly match your ID, or your date of birth is different, it’ll be flagged. Check every detail before you submit.
- Expired documents. Your ID has to be in date. If it expired last month, it won’t be accepted, even if you’re renewing it. Use another valid document if you have one.
- A selfie that doesn’t match your ID. If the system can’t match your face to your ID photo, the application can be rejected. It can happen if you look quite different now because of your hair, weight or makeup. Try to look as close to your ID photo as you can.
- Screenshots or photocopies. Upload a fresh photo of the document itself, not a screenshot from your gallery, a photocopy or an edited scan. Take it through the verification screen if you can.
- Being under 18. You must be at least 18. There are no exceptions.
Tips for a smooth and fast verification
- Get everything ready first. With your ID, bank details and tax information to hand, you can finish in one sitting.
- Use a laptop or desktop if you can. Mobile works, but a bigger screen makes it easier to check your photos are clear and lined up.
- Take several photos of your ID. Check each one and upload the sharpest.
- Be patient with the selfie. If the system struggles to read your face, try different light or a different background. A plain, light-coloured wall behind you helps.
- Watch your email. After you submit, check your inbox and your spam folder for anything from OnlyFans.
After verification
Once you’re approved, you can set your subscription price, upload content and start promoting your page. Before you jump in, spend some time setting it up. A strong profile, a clear pricing strategy and a tip menu give you a solid start.
If anyone else will appear in your content, they must be a tagged, verified OnlyFans creator, or an adult aged 18 or over whose ID and written consent (a release form) you hold.
If you’re building your page from scratch, the how to start from zero guide covers what comes after verification.
You should only need to verify once, unless OnlyFans asks you to do it again as part of its ongoing checks, which happens now and then. Take care over it, get it right first time, and then you can get on with making content and growing your audience.